Posts

House To-Do List: Updated

So, I found this old master to-do list I posted over a year ago. Let's see what all we have accomplished in the last 14 months! I've also added some new things to the list, in blue. Living Room 1 . Install trim around window 2. Install crown molding 3. Fill nail holes and paint trim 4. Hang curtains 5. Finish spray-painting fireplace doors and re-install 6. Figure out what to do around the fireplace (tile? mantle surround?) and then do it 7. Fix door handle on closet 8. Organize closet (DVD's, CD's, books) these are now downstairs 9. Figure out something to do about brick hearth (paint? resurface?) 10. Replace entry door (preferably something with blinds or curtains) 11. Research and buy/build some sort of storage system for closet Master Bathroom 1. Sand walls and re-paint for a smooth finish 2. Install shower head and faucet 3. Seal grout in the shower 4. Install hardware (towel bars, toilet paper dispenser, etc) 5. Figure out and install some st...

M is for McFrugal

Image
After we got married, I wanted to integrate my new monogram into our home decor. I found this paper maché M at Michaels, and thought I would do an interesting paint treatment on it. So I just set up a station, using push pins to prop up the M while I painted it.   My first coat of paint was a beautiful turquoise, over which I painted a coat of brown paint.  Then I painted a layer of crackle medium over the brown layer, so that the turquoise paint would show through the cracks. Buuuuuuuuut I tried to skimp and just get one-step crackle medium and it DID.NOT.WORK.  So, plan B! When you can't paint it how you like, cover it up! I saw an idea on Pinterest for a letter wrapped in twine to hang on the front door. Here was my inspiration:  Source: Pinterest I found a spool of twine at Walmart for only $1.99. I bought 2 rolls, but only ended up using part of one. I also used a hot glue gun for this project. I only glued in the back, so each t...

I'm baaaaaaack!

Image
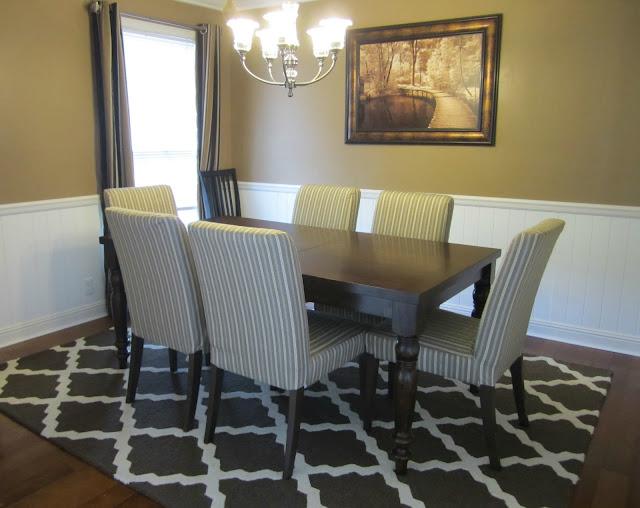
Yikes, I didn't mean to take such a long break from blogging!! It just sort-of...happened. But I'm back and I've got some fun updates to share with you!! First, I don't think I ever posted a picture of the dining room once we got our new rug. Here she is! Isn't it lovely? Those chairs are from IKEA that we purchased with our tax refund. I love them because the slipcovers can be changed as often as we like! The table is one that we found at Big Lots a long time ago. So far, we've dropped/spilled a couple things on the rug and the spots have come out right away with no problems, even on the ivory stripes. We're completely happy with the purchase! And at just around $200, we feel like we got a bargain for a 7'6" by 9'6" rug. Next, we had been tossing around the idea of changing the ceiling fan in our bedroom. The one in there was an old, white fan with a globe light that didn't give off enough light for us. It also looked very da...

A place for friends to stay

Image
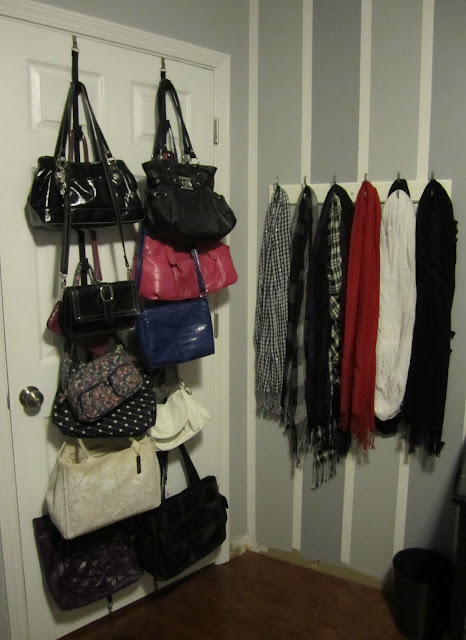
You saw a sneak peak of the guest room in my last post...here is a full update, with all of my old furniture. I call this "my room" since it has all my old furniture and is like an extension of our closet for my overflow of clothes and accessories :) Exhibit A...the back of the door: We still have to install base molding in a few spots in here... I also have a desk in this room, so it serves as my office as well. Here is my desk (complete with an ugly cheap desk chair and a mess of cords on the floor...just trying to keep it real with y'all!). I have a chest underneath the desk for hanging files, and I hide all my clutter in the desk drawer--receipts, random pieces of paper, etc. I have a white board there for lists, and a cork board to post pictures and notes. Next to that is my old dresser... This dresser currently serves as storage for craft and scrapbooking supplies. Then on top is the printer, and a few purple accessories that I love. The dresser is ...

A few updates

Image
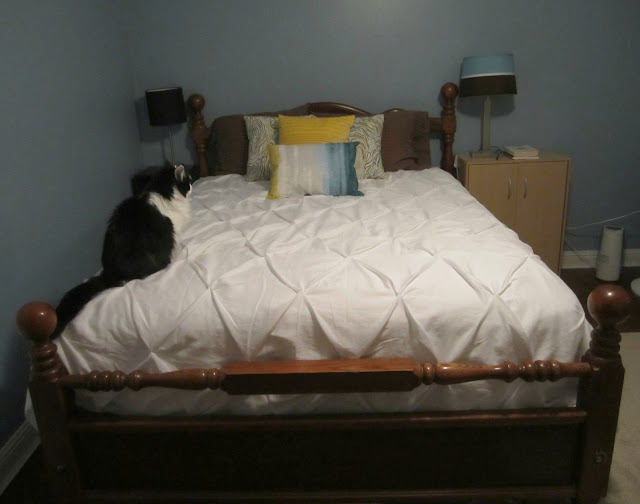
If you've ever looked at my house tour page, a few things have changed since I posted those pictures. For instance, we got new bedding with wedding gift cards and I've added some new throw pillows: We also took down the 12 pictures I hung up last year for our one-year anniversary. We've decided to go a different route with some sunburst mirrors. I also have a new paint color to try in here, so stay tuned for updates on that!! Our guest room has also undergone a transformation. I finally found some bedding that I loved ($30 from IKEA) and have been collecting and making throw pillows to go with it. It's not very obvious in these pictures, but the color scheme in here is gray & white...okay that part is obvious, but the accent color of purple may not be as obvious! I like that it's not overpowering, so if I ever change my mind and want to do a different accent color, I don't have too much purple stuff to replace! Finally, our master bathr...

Put it to Bed

Image
A garden bed, that is! Here is a picture of the bed that runs along the driveway and the side of the house. This picture was from the day J got the keys to the house. You can barely even see what I'm talking about, but it's that area full of some sort of green groundcover. Sometime last spring, we tore out all the groundcover, planted a few plants, and here's what that looked like... Here you can see we got a matching downspout diverter and buried a flat diverter so the water would go out onto the driveway. And lookie there, there were bricks running alongside that bed...who knew? Couldn't see them for all the over-grown greenery. We planted some flowers and mulched the bed after this point, but I can't find any pictures of that. That brings us to this last weekend, when J decided to start the project of diverting the front downspout to drain to the back of the house instead of down the driveway. That would involve digging a trench along the house and bu...

$5 = 5 minute update

Image
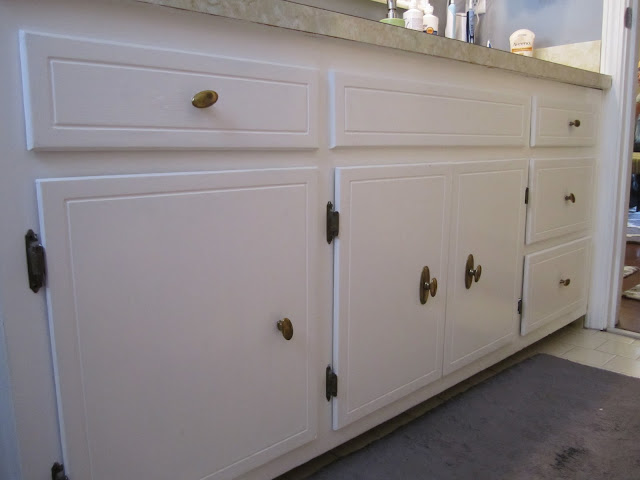
Okay, it may have taken me slightly longer than 5 minutes, but for the sake of a clever title you get the idea. So during one of my Target clearance runs, I found a box of 10 brushed nickle knobs for only $5! (regularly $20). I picked them up, sure we'd be able to find a use for them. Sure enough, the vanity in our main hall bathroom had some terrible brass knobs on it, and since we have already replaced all the other brass in the house, these were next on the list. Renovating this bathroom is somewhere on our master to-do list, but it's nowhere near the top at this point in time. It's functional and not terrible, so we're living with it for now. Let's get a close-up of those brass beauties!! So with a philips screwdriver, I pulled all of these old brass knobs off and replaced them with some shiny new brushed nickle knobs!! Let's have a look... It's not a huge difference, but I think it helps make the bathroom more tolerable until we can do ...