Posts

Showing posts from 2016

Kitchen Reveal

Image
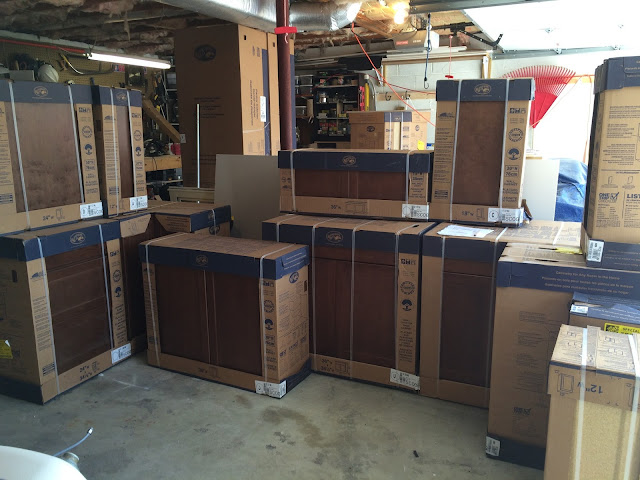
When we last left off, we had just finished installing most of the cabinets. These were basic in-stock cabinets, so we had to buy some organization gear to jazz them up on the inside. One thing we wanted was a place to sort recycling, so we found this pull-out system that attaches to the cabinet door: This was a bit tricky to install, but it was definitely worth all the trouble in the end. We were also looking for a solution for our dog food. We usually keep it in a small trash can with a lid, so we bought a pull-out trash can and installed it in our pantry so that we can slide it out, open the lid, scoop out the dog food, and push the bin back into the cabinet out of sight.  At this point, we still didn't have counters or a kitchen sink. We had to get all the base cabinets installed in order that the cabinet installers could come and template for the counter-tops. I did get to go to the stone yard and see our granite slab to make sure we liked it before they cut it,

Rebuilding the Kitchen

Image
Picking up where we left off...the date is Tuesday April 7, 2015. James and I took the day off work so that we could install the cabinets, since my family was coming that following weekend to visit. First, we laid out all the cabinets in the garage as best we could: We researched and found that it was best to start with the upper cabinets, because it's easier to hang them when there's nothing in the way below. Hanging the upper cabinets was actually much easier than we expected it to be. We hung a 2x4 "cleat" around the perimeter of the room to rest the upper cabinets on while we installed them. Then it was simply a matter of screwing through the back of the cabinets into the studs, then screwing the front faces of the cabinets together. The recommendation was to start in a corner and work your way outward. We started in the corner closest to the stove, and here is what those cabinets looked like: Then we worked our way over to the left side, to the op