DVD Closet
Ever since we renovated the basement and tore out the bookshelves that had been there and replaced them with our built-in desk, our books and DVDs had been in boxes in the garage. We were able to pull out a few of the books to put on our new shelves in the basement guest room (reveal coming soon!), but the DVDs still hadn't found a new home. So, a couple weekends ago we decided to clear out the closet in the living room. There are 2 closets in the living room...one is a coat closet by the door, and the other is a random closet on the other side of the room. It has a strange raised floor--we're not exactly sure why. It is above the stairs to the basement, so maybe it has something to do with that.
Anyway, up until this point, the closet had housed extra pillows for the couches, dog food, brooms, and the vacuum. Once we emptied it out, this is what it looked like.
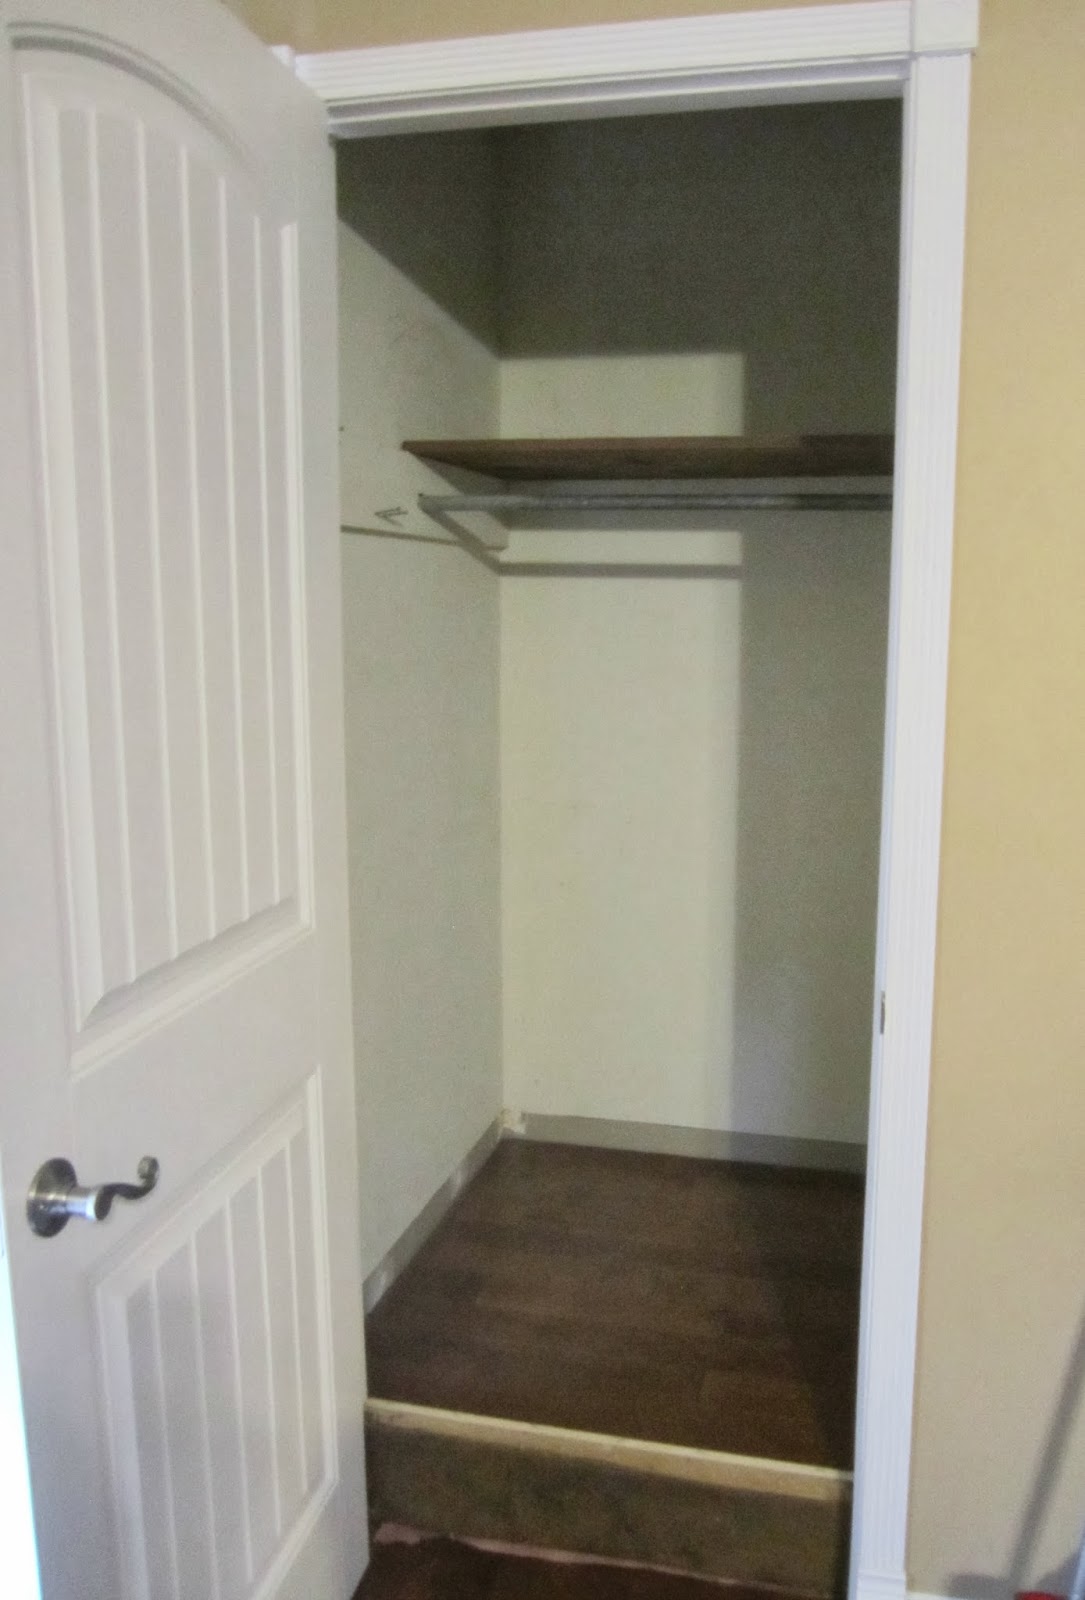
We removed the shelf and hanging pole and were left with this:

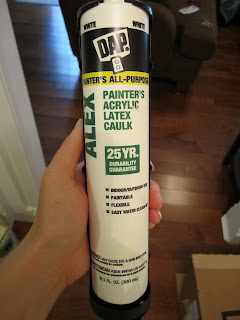
It became evident that this closet had never been painted since the house was built. So we found some leftover paint from the hallway and got to work. This is what it looked like after a couple coats of paint:

Sorry for the poor lighting--we'll have to address that issue some day, but first we just wanted to get some shelves up. We went to Lowe's and bought some simple track shelving, which was actually really easy to install. They sell a track guide that you mount at the top, then you hang your vertical tracks from it and it keeps them all level with each other. Then you mount the vertical tracks into the studs. That process looked a bit like this:

We ended up adding a 3rd track all the way into the corner for more stability, so the shelves didn't wobble. Then we just measured the distance we needed between the shelves for DVD height, and voila!

We used command strips between the brackets and shelves to keep the shelves from sliding forward. Here are the shelves all filled up with our DVD collection:

Initially when we planned to finish this closet, we wanted to do shelves on 2 walls. But when the price for this wall surpassed $100, we decided just to do the one wall first and then see if even needed to do the other wall. Turns out, this was plenty of storage for our DVDs. However, we do think it would be nice to do the 2nd wall sometime in the future to add more book storage--we have a lot of books!
So, there you have it. Our one weekend closet renovation. I'm so glad we finally did it. I was going nuts trying to remember which DVDs I already owned and which ones I still wanted. In fact, I discovered a few multiples when I was organizing the DVDs alphabetically, and fortunately since I had just purchased them recently, I was able to return them. A happy ending!
Anyway, up until this point, the closet had housed extra pillows for the couches, dog food, brooms, and the vacuum. Once we emptied it out, this is what it looked like.
We removed the shelf and hanging pole and were left with this:
Sorry for the poor lighting--we'll have to address that issue some day, but first we just wanted to get some shelves up. We went to Lowe's and bought some simple track shelving, which was actually really easy to install. They sell a track guide that you mount at the top, then you hang your vertical tracks from it and it keeps them all level with each other. Then you mount the vertical tracks into the studs. That process looked a bit like this:
We ended up adding a 3rd track all the way into the corner for more stability, so the shelves didn't wobble. Then we just measured the distance we needed between the shelves for DVD height, and voila!
We used command strips between the brackets and shelves to keep the shelves from sliding forward. Here are the shelves all filled up with our DVD collection:
Initially when we planned to finish this closet, we wanted to do shelves on 2 walls. But when the price for this wall surpassed $100, we decided just to do the one wall first and then see if even needed to do the other wall. Turns out, this was plenty of storage for our DVDs. However, we do think it would be nice to do the 2nd wall sometime in the future to add more book storage--we have a lot of books!
So, there you have it. Our one weekend closet renovation. I'm so glad we finally did it. I was going nuts trying to remember which DVDs I already owned and which ones I still wanted. In fact, I discovered a few multiples when I was organizing the DVDs alphabetically, and fortunately since I had just purchased them recently, I was able to return them. A happy ending!


Comments
Post a Comment